
How to Photograph Maker Marks: A Complete Guide to Clear Mark Photos
Capturing clear photos of maker marks requires the right lighting angle, steady hands, and attention to fine details. This guide walks through the exact setup, shots, and common pitfalls that make the difference between a blurry guess and a confident identification.
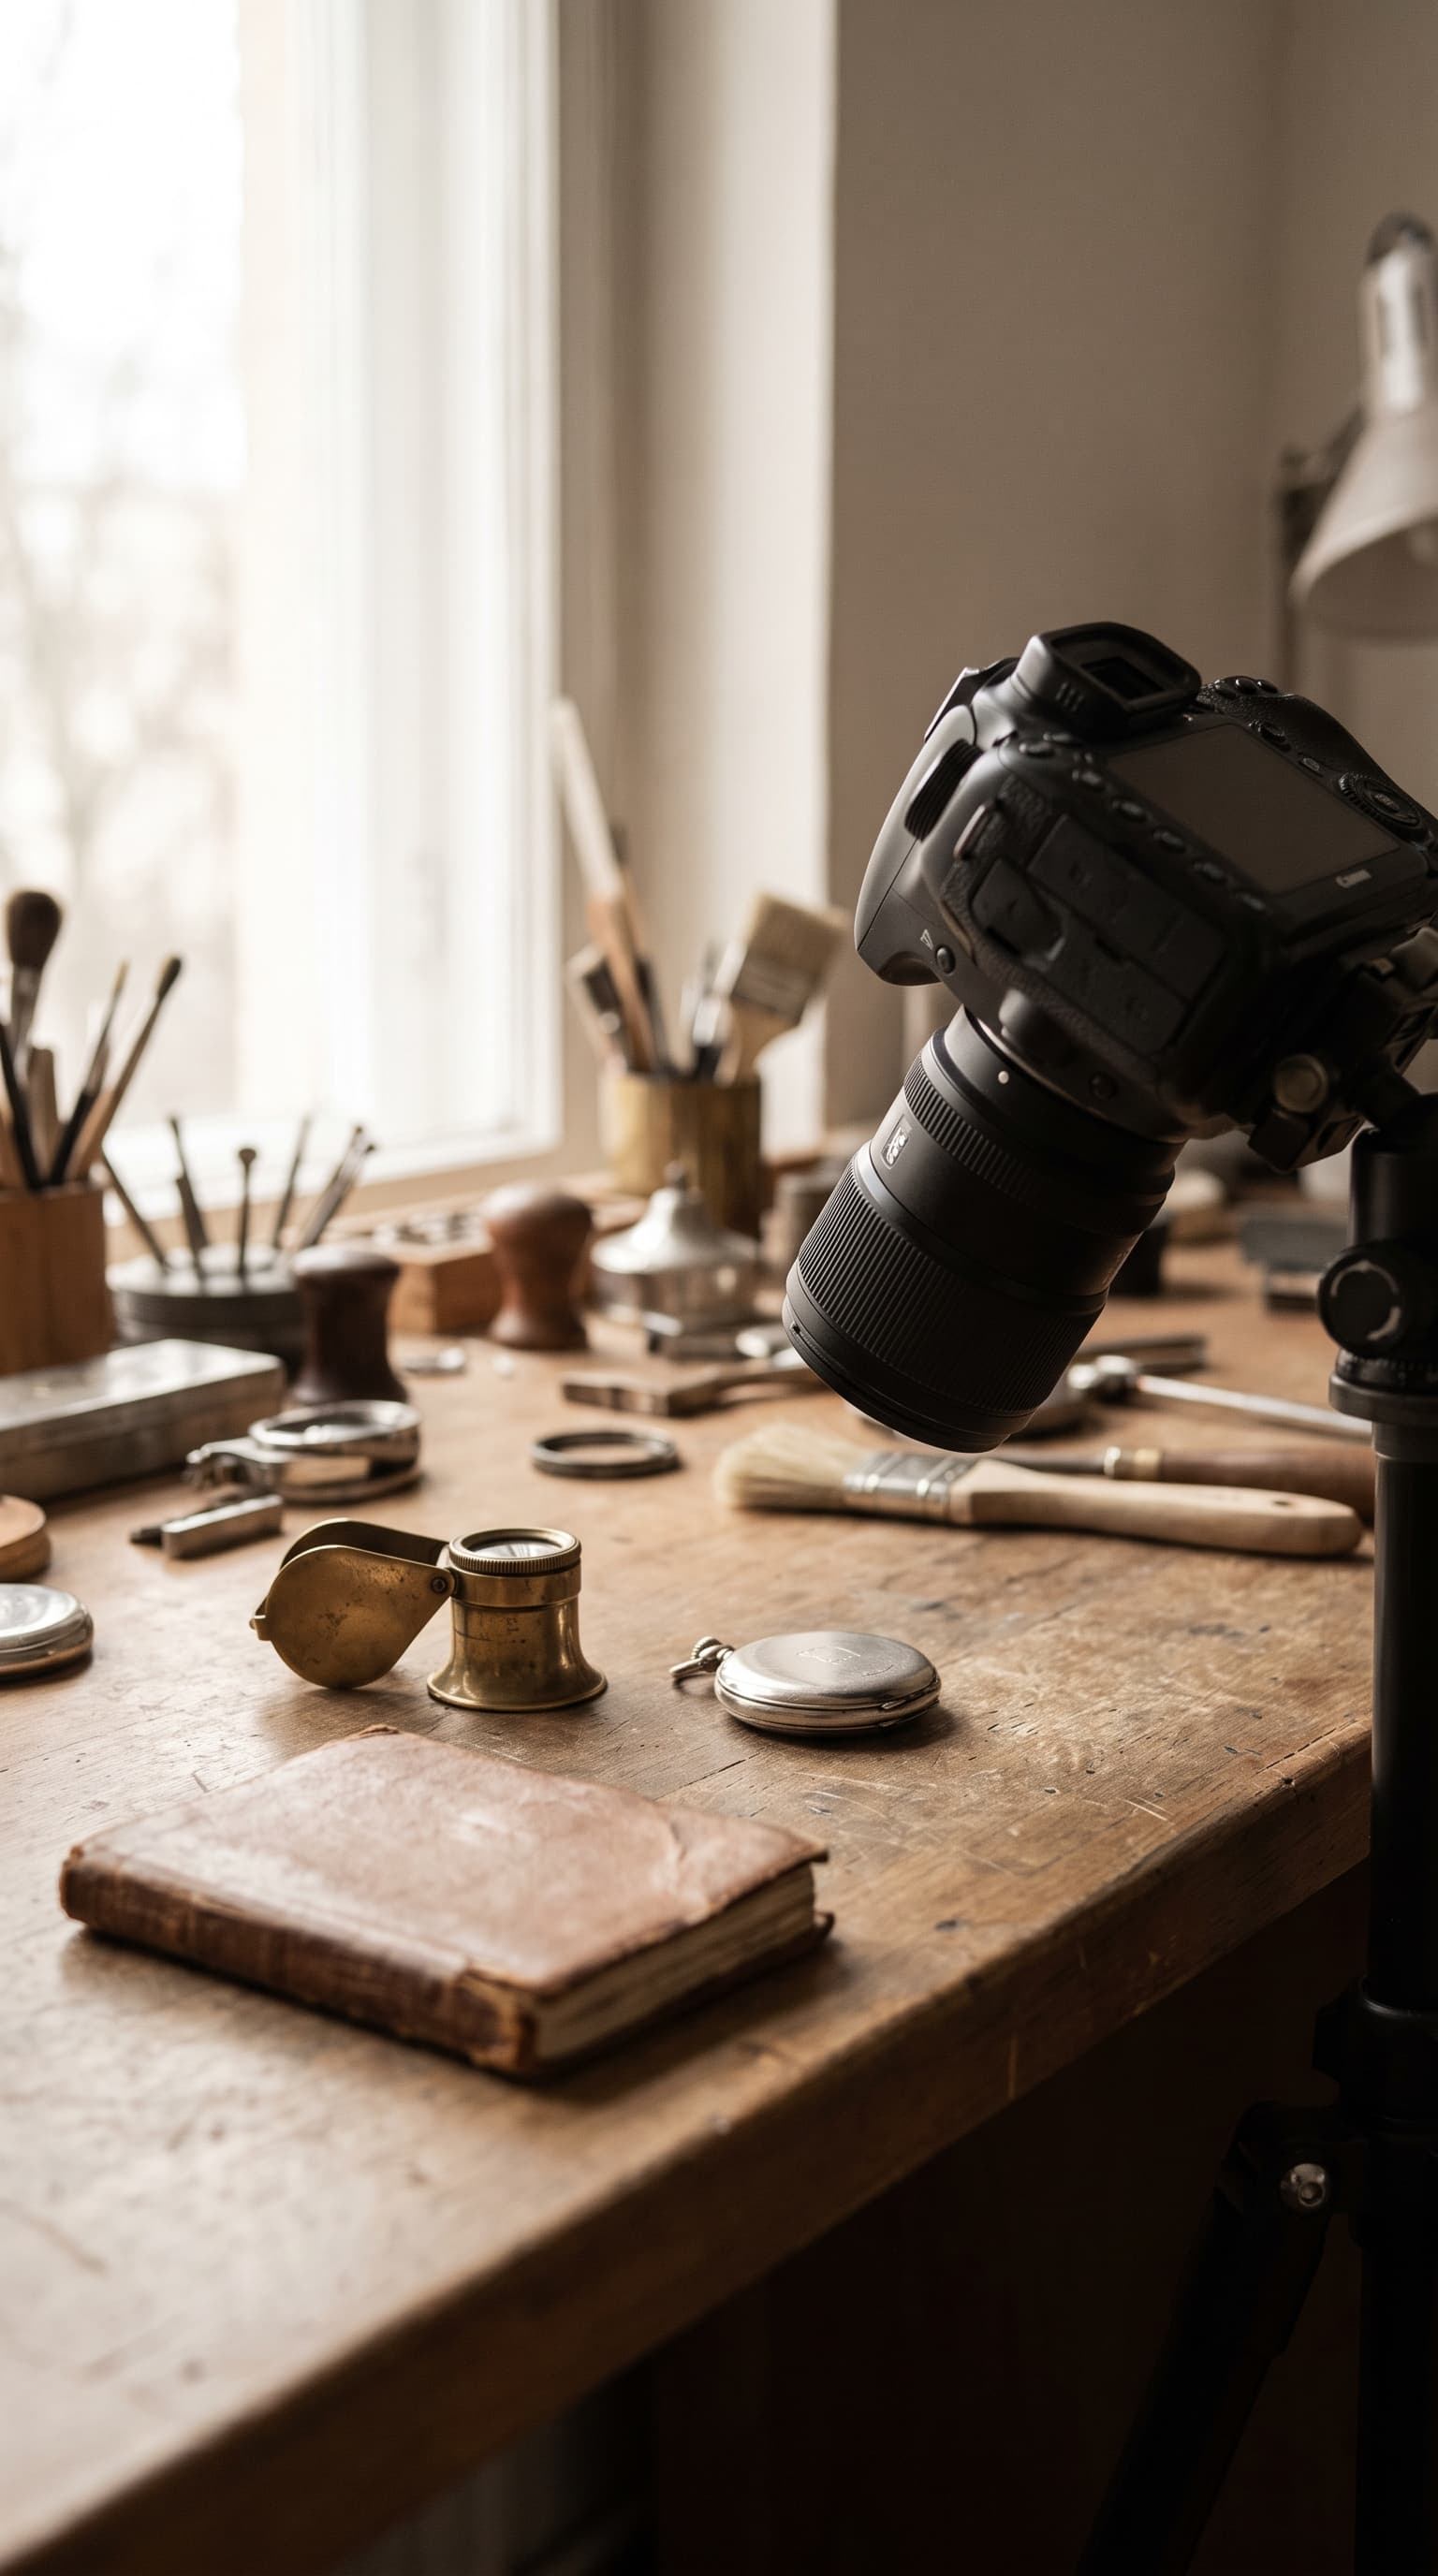
What You Need to Photograph Maker Marks Successfully
Learning how to photograph maker marks makes all the difference when identifying antiques, vintage pottery, silver, and decorative objects. A mark that looks like a blur or shadow in one photo can reveal a clear name, date code, or registry number in another. The challenge isn't the camera—it's the lighting, angle, and knowing which details matter most.
Maker marks often sit in awkward spots: recessed into the underside of a ceramic base, stamped into tarnished silver, or scratched faintly onto brass. Each material and mark type demands a slightly different approach, but the fundamentals stay the same.
What Clues Matter in a Maker Mark Photo
Before you start shooting, know what you're trying to capture. A maker mark can include several types of information, and each one needs to be legible.
Letters and words are the most common identifiers. Company names, location names, or designer initials often appear in serif or script fonts that blur easily without sharp focus. Even a single letter out of focus can turn "Sevres" into "Serves" or obscure whether a mark reads "Ltd" or "Inc."
Symbols and logos matter just as much. A crown, anchor, or animal icon can narrow down the maker to a single factory or region. These symbols often include fine lines—thin crosshatching on a lion's mane, for example—that disappear in low light or soft focus.
Numbers indicate dates, mold numbers, or pattern codes. A "3" and an "8" can look identical if the lighting casts the wrong shadow. Registration numbers on the back of ceramics, especially British pieces, require every digit to be clear.
Texture and depth tell you whether a mark is impressed (stamped into the material), incised (carved or scratched), printed (transferred or painted), or applied (a separate label or medallion). Knowing the mark type helps with dating and authenticity, but it's invisible in a flat, evenly lit snapshot.
What Photos to Take: The Essential How to Photograph Maker Marks Shots
Start with a straight-on shot at a 90-degree angle to the mark. Hold your phone or camera parallel to the surface. This prevents distortion that makes round marks look oval or turns square stamps into trapezoids. Get close enough that the mark fills most of the frame, but not so close that your camera can't focus.
Raking light reveals depth. Position a single light source—a desk lamp, flashlight, or bright window—at a low angle to the mark, almost parallel to the surface. The light should graze across the mark, casting shadows that make impressed letters or worn details jump out. Take at least two raking-light shots from opposite directions (light from the left, then from the right). A letter that's invisible with light from one side often appears clearly with light from the other.
Direct overhead light flattens detail. If your mark is printed or painted rather than stamped, raking light won't help. Instead, use soft, even light directly above the mark. Overcast daylight near a window works well. Avoid harsh shadows that obscure parts of the image.
Macro mode or manual focus matters more than megapixels. Most phone cameras switch to macro automatically when you get close, but if yours doesn't, tap the screen to lock focus on the mark itself, not the background. Blurry edges mean blurry letters.
Steady your hand or brace the camera. Even a slight shake at close range turns crisp text into mush. Rest your hand on the table, use a small tripod, or prop your phone against a book. If you're shooting a heavy object, flip it carefully and set it on a towel to avoid damage.
Take multiple shots with different lighting. One photo might show the outer text clearly but lose the center logo in shadow. Another might capture a faint incised line that didn't show up in the first attempt. When in doubt, overshoot—you can always delete extras.
How to Photograph Maker Marks on Different Materials
Ceramic and pottery marks often sit in a shallow foot ring or on a glazed base. Glaze can create glare that hides details. Tilt the piece slightly until the glare moves off the mark, or use a polarizing filter if you have one. For unglazed areas, raking light works beautifully to show impressed stamps.
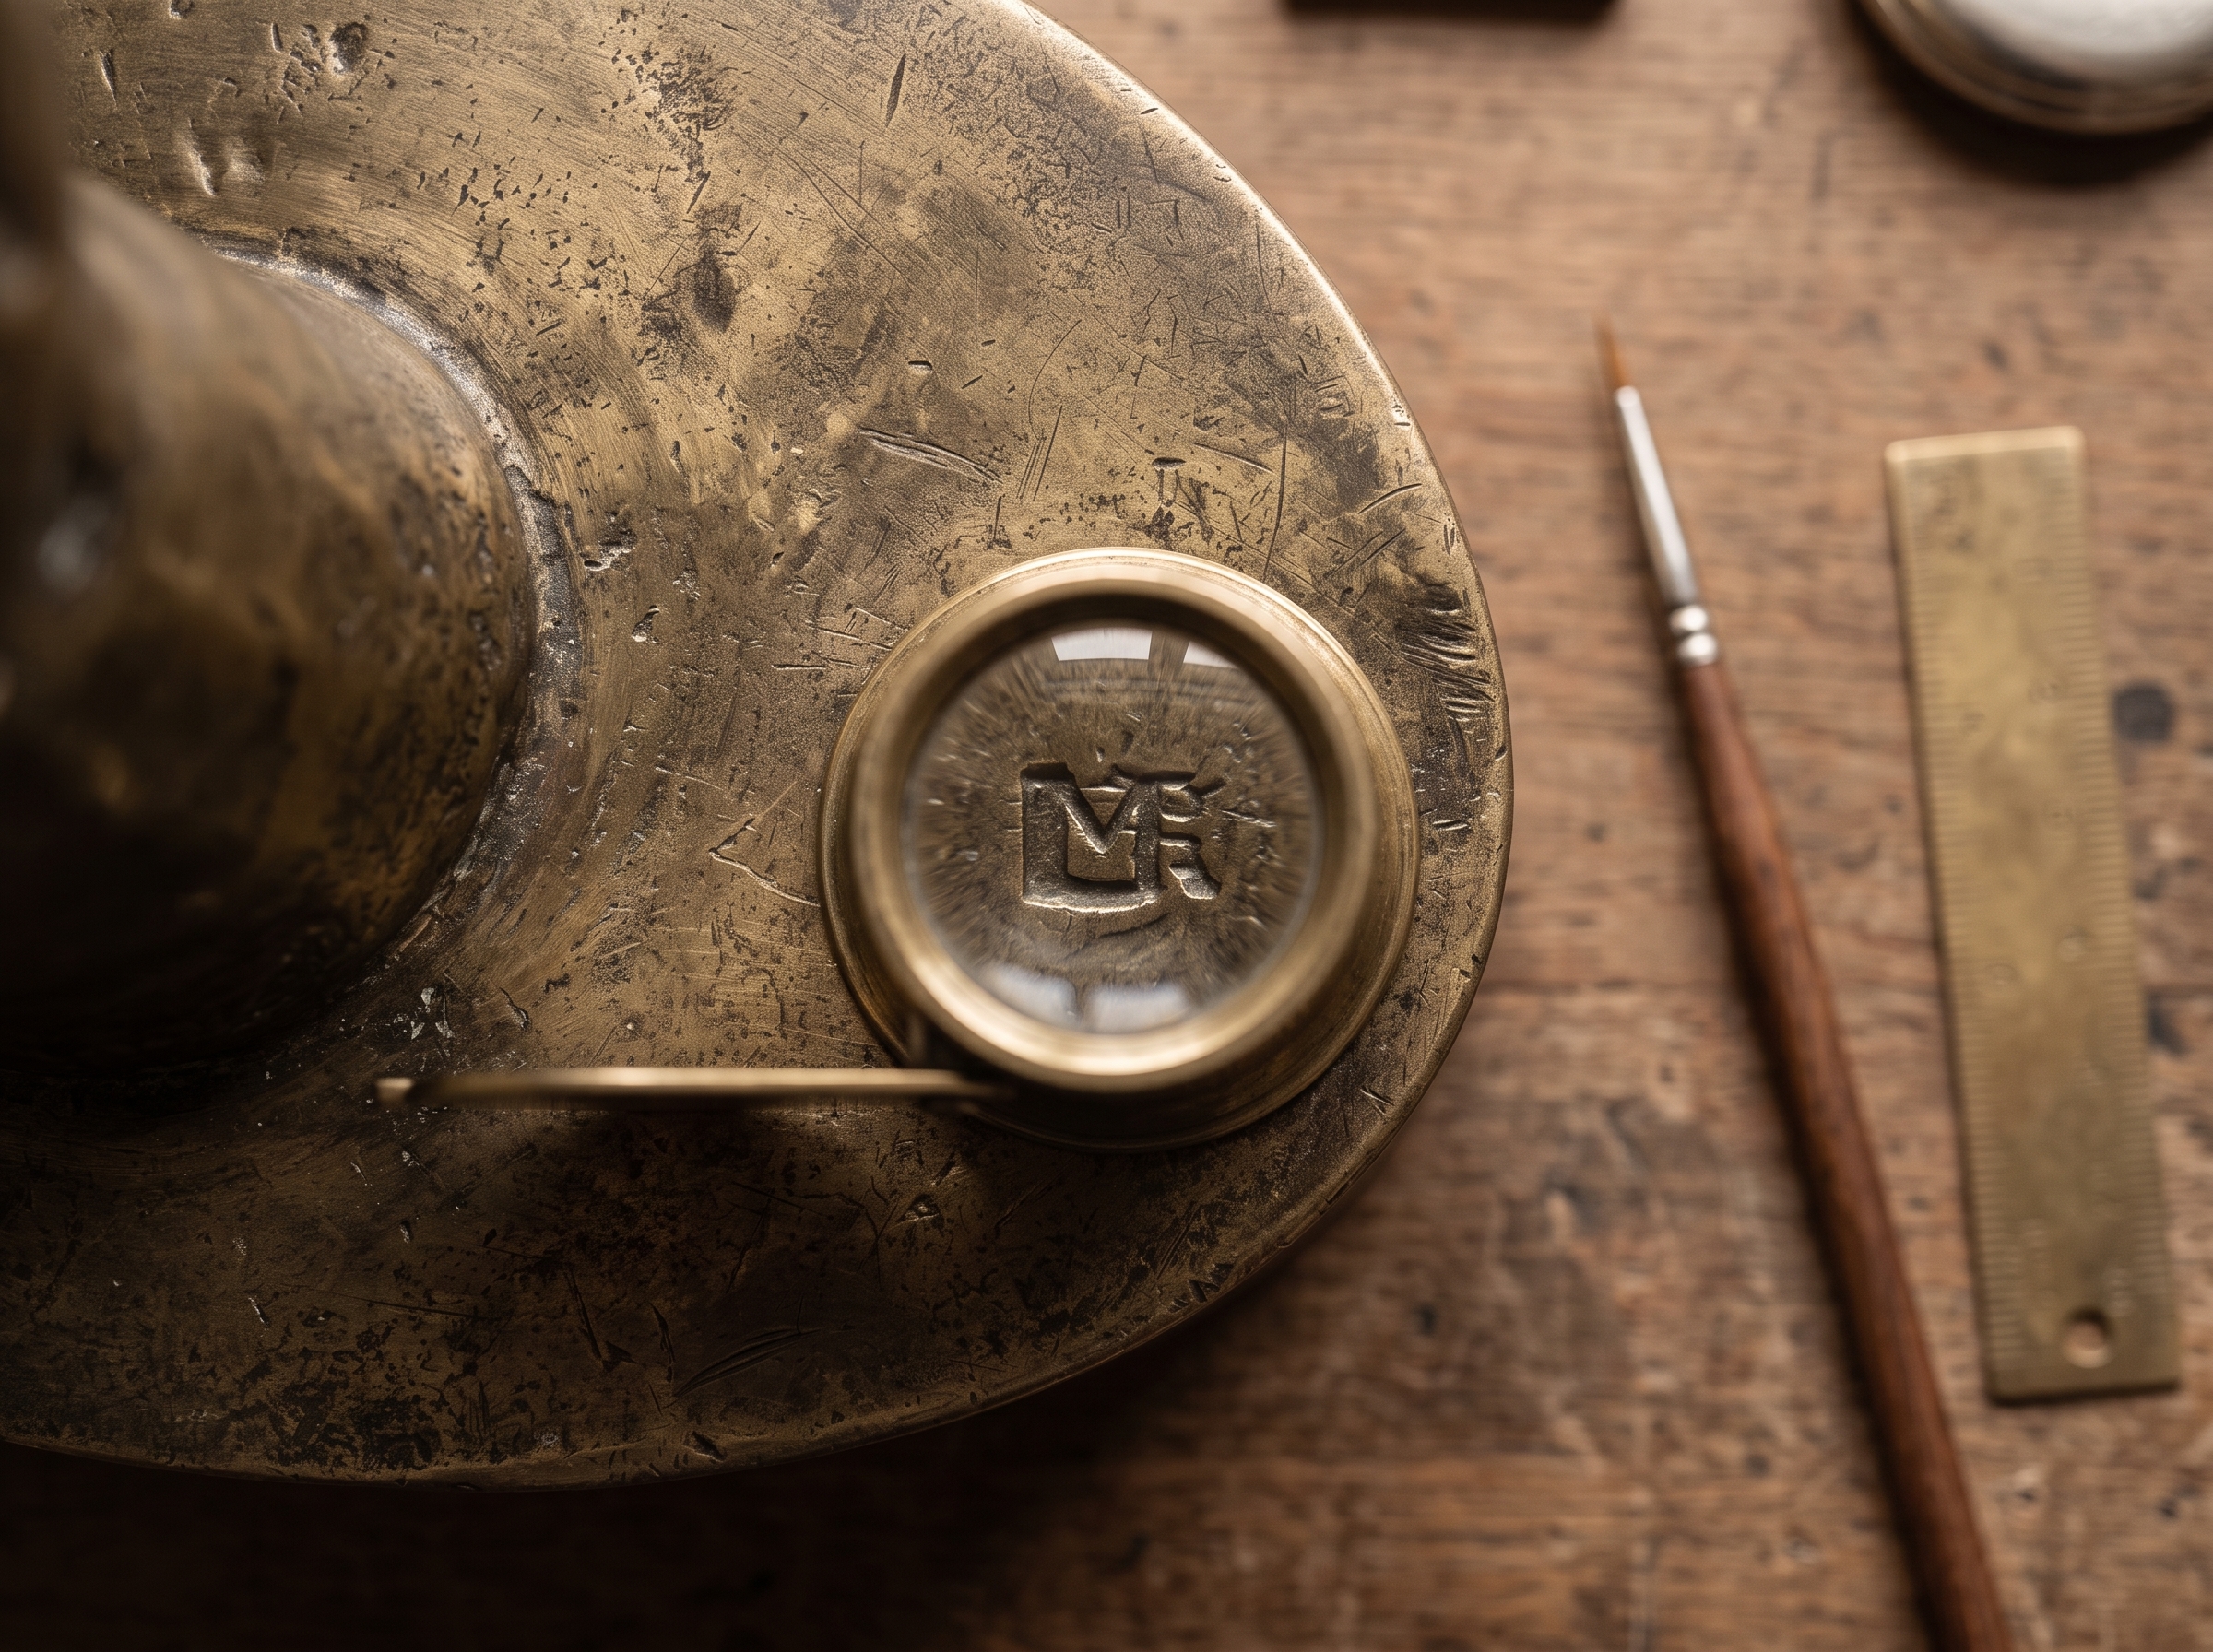
Silver and metal marks can be tiny and worn. Tarnish sometimes fills in the recessed areas of a hallmark, making it look like a dark smudge. A gentle polish with a soft cloth—just on the mark—can help, but don't scrub aggressively. You want to reveal the mark, not erase patina that adds value. Use raking light and shoot at high resolution so you can zoom in later.
Glass marks, especially acid-etched or sandblasted signatures, benefit from backlighting. Hold the piece up to a window or place a light behind it. The mark will appear as a change in texture or opacity. For painted marks on glass, use even front lighting to avoid reflections.
Paper labels and stickers require a delicate touch. If a label is fragile or peeling, don't press it flat—photograph it as-is. Use soft, even light and shoot straight-on to capture any faded text or color that indicates age. For more on reading various types of marks, see Vintage Stamp Identification: How to Read Decorative and Maker Marks.
Common Misidentifications from Poor Mark Photos
A blurry "R" inside a circle can be mistaken for a dozen different pottery marks. Without sharp focus, you can't tell if it's a registered trademark symbol, a specific company logo, or a decorator's initial.
Shadows that obscure half the mark lead to partial readings. Someone might see "...aven" and guess "Haviland" when the full mark actually reads "New Haven." Always shoot with light from multiple angles.
Flat lighting on impressed marks makes them disappear entirely. I've seen people convinced their piece was unmarked, only to discover a clear maker's stamp once they used raking light. This happens constantly with silver, bronze, and unglazed pottery.
Glare on glossy surfaces turns a photo into a white blob. This is fixable—just change your angle or move the light. Check your screen before you move on.
Partial crops or zoomed-out shots waste the opportunity. If the mark is the size of a postage stamp and your photo shows the entire bottom of a 12-inch platter, no one can read the details. Fill the frame.
Similar issues occur with other decorative objects. If you're photographing furniture marks, the same lighting and focus rules apply, as explained in How to Identify Antique Bookcases: A Guide to Dating Cabinets from Photos and related guides.
What Tocuro Can Help Resolve
Even with the best photos, maker marks can be cryptic. A clear image of a mark is only half the puzzle—you still need to match it to a known maker, date range, and origin. That's where Tocuro comes in.
Upload your mark photos to Tocuro, and the platform identifies items from those images, matching marks against a wide database of known stamps, hallmarks, and signatures. You'll get context on the maker, the period, and estimated value ranges based on current market signals. This isn't a formal appraisal, but it gives you a realistic sense of what similar pieces are selling for.
Tocuro works across categories—ceramics, silver, glass, metalwork, and more. Whether you're trying to date a piece of brass with a foundry mark or decode a registry number on a Victorian platter, the process is the same: take clear photos, upload them, and let the identification tool do the heavy lifting. You get free daily scans, and the count resets daily, so you can work through a collection at your own pace.
The platform is especially helpful when a mark is clear but unfamiliar, or when multiple marks appear together and you need to understand how they relate. Some pieces carry a maker's mark, a retailer's mark, and a date code all in one spot—Tocuro helps you parse them.
Ready to Identify Your Maker Marks?
Now that you know how to photograph maker marks with the right lighting, angles, and focus, put it into practice. Grab your phone, find a good light source, and take a few test shots. Check the screen at full zoom to make sure every letter is sharp.
When you've got clear images, identify your item with Tocuro and see what the marks reveal. You might discover a well-known maker, a rare production mark, or a detail that changes how you value the piece. Either way, you'll have the information you need to move forward—whether that means selling, insuring, or just understanding what you own.
Photo identification
Identify Your Item
Use Tocuro to identify your item from a photo and get an estimated value range when market data is available.