
Antique Bottle Identification: How to Identify Glass Bottles by Photo
Identifying antique bottles requires examining four key features: base marks, seam lines, lip style, and embossed text. Understanding where seams end, how lips were finished, and what base marks reveal helps date bottles from the 1700s through the mid-1900s and separate genuine antiques from modern reproductions.
What Clues Matter in Antique Bottle Identification
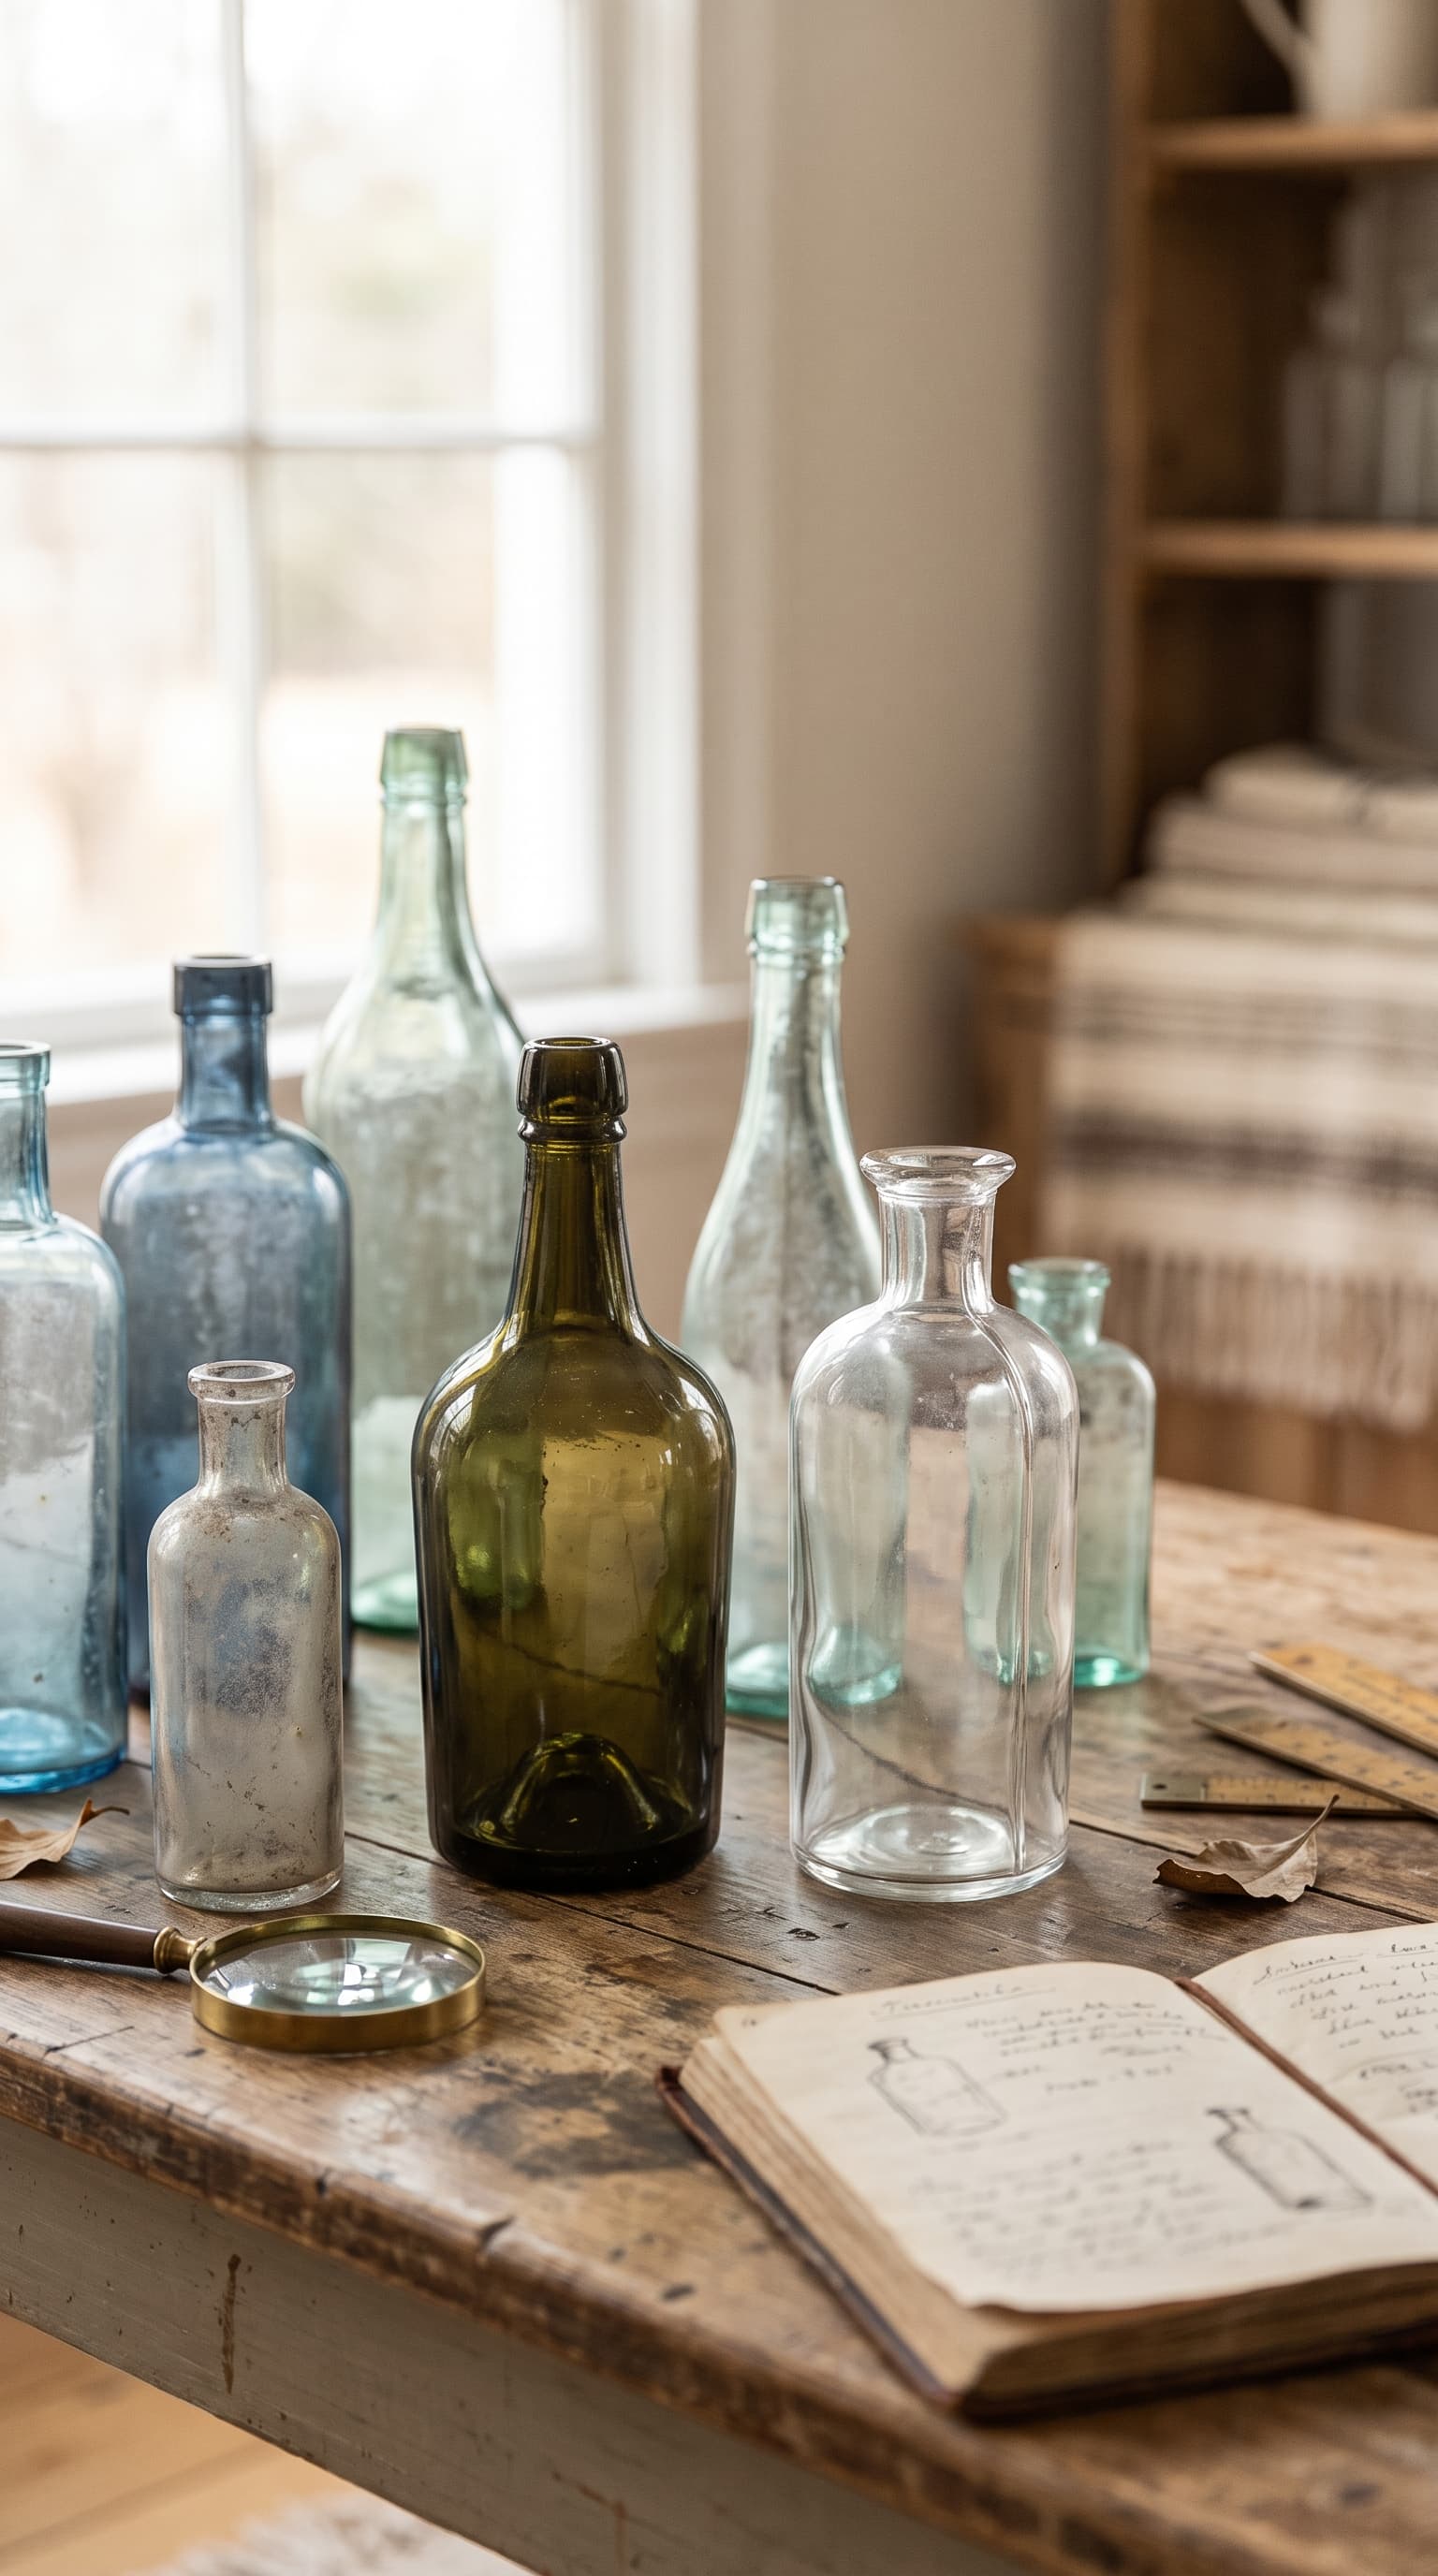
Identifying antique bottles from photos comes down to understanding how glassmaking technology evolved. The base, seam placement, lip construction, and embossed text each reveal manufacturing methods that changed dramatically between the 1700s and mid-1900s.
Base Marks and Pontil Scars
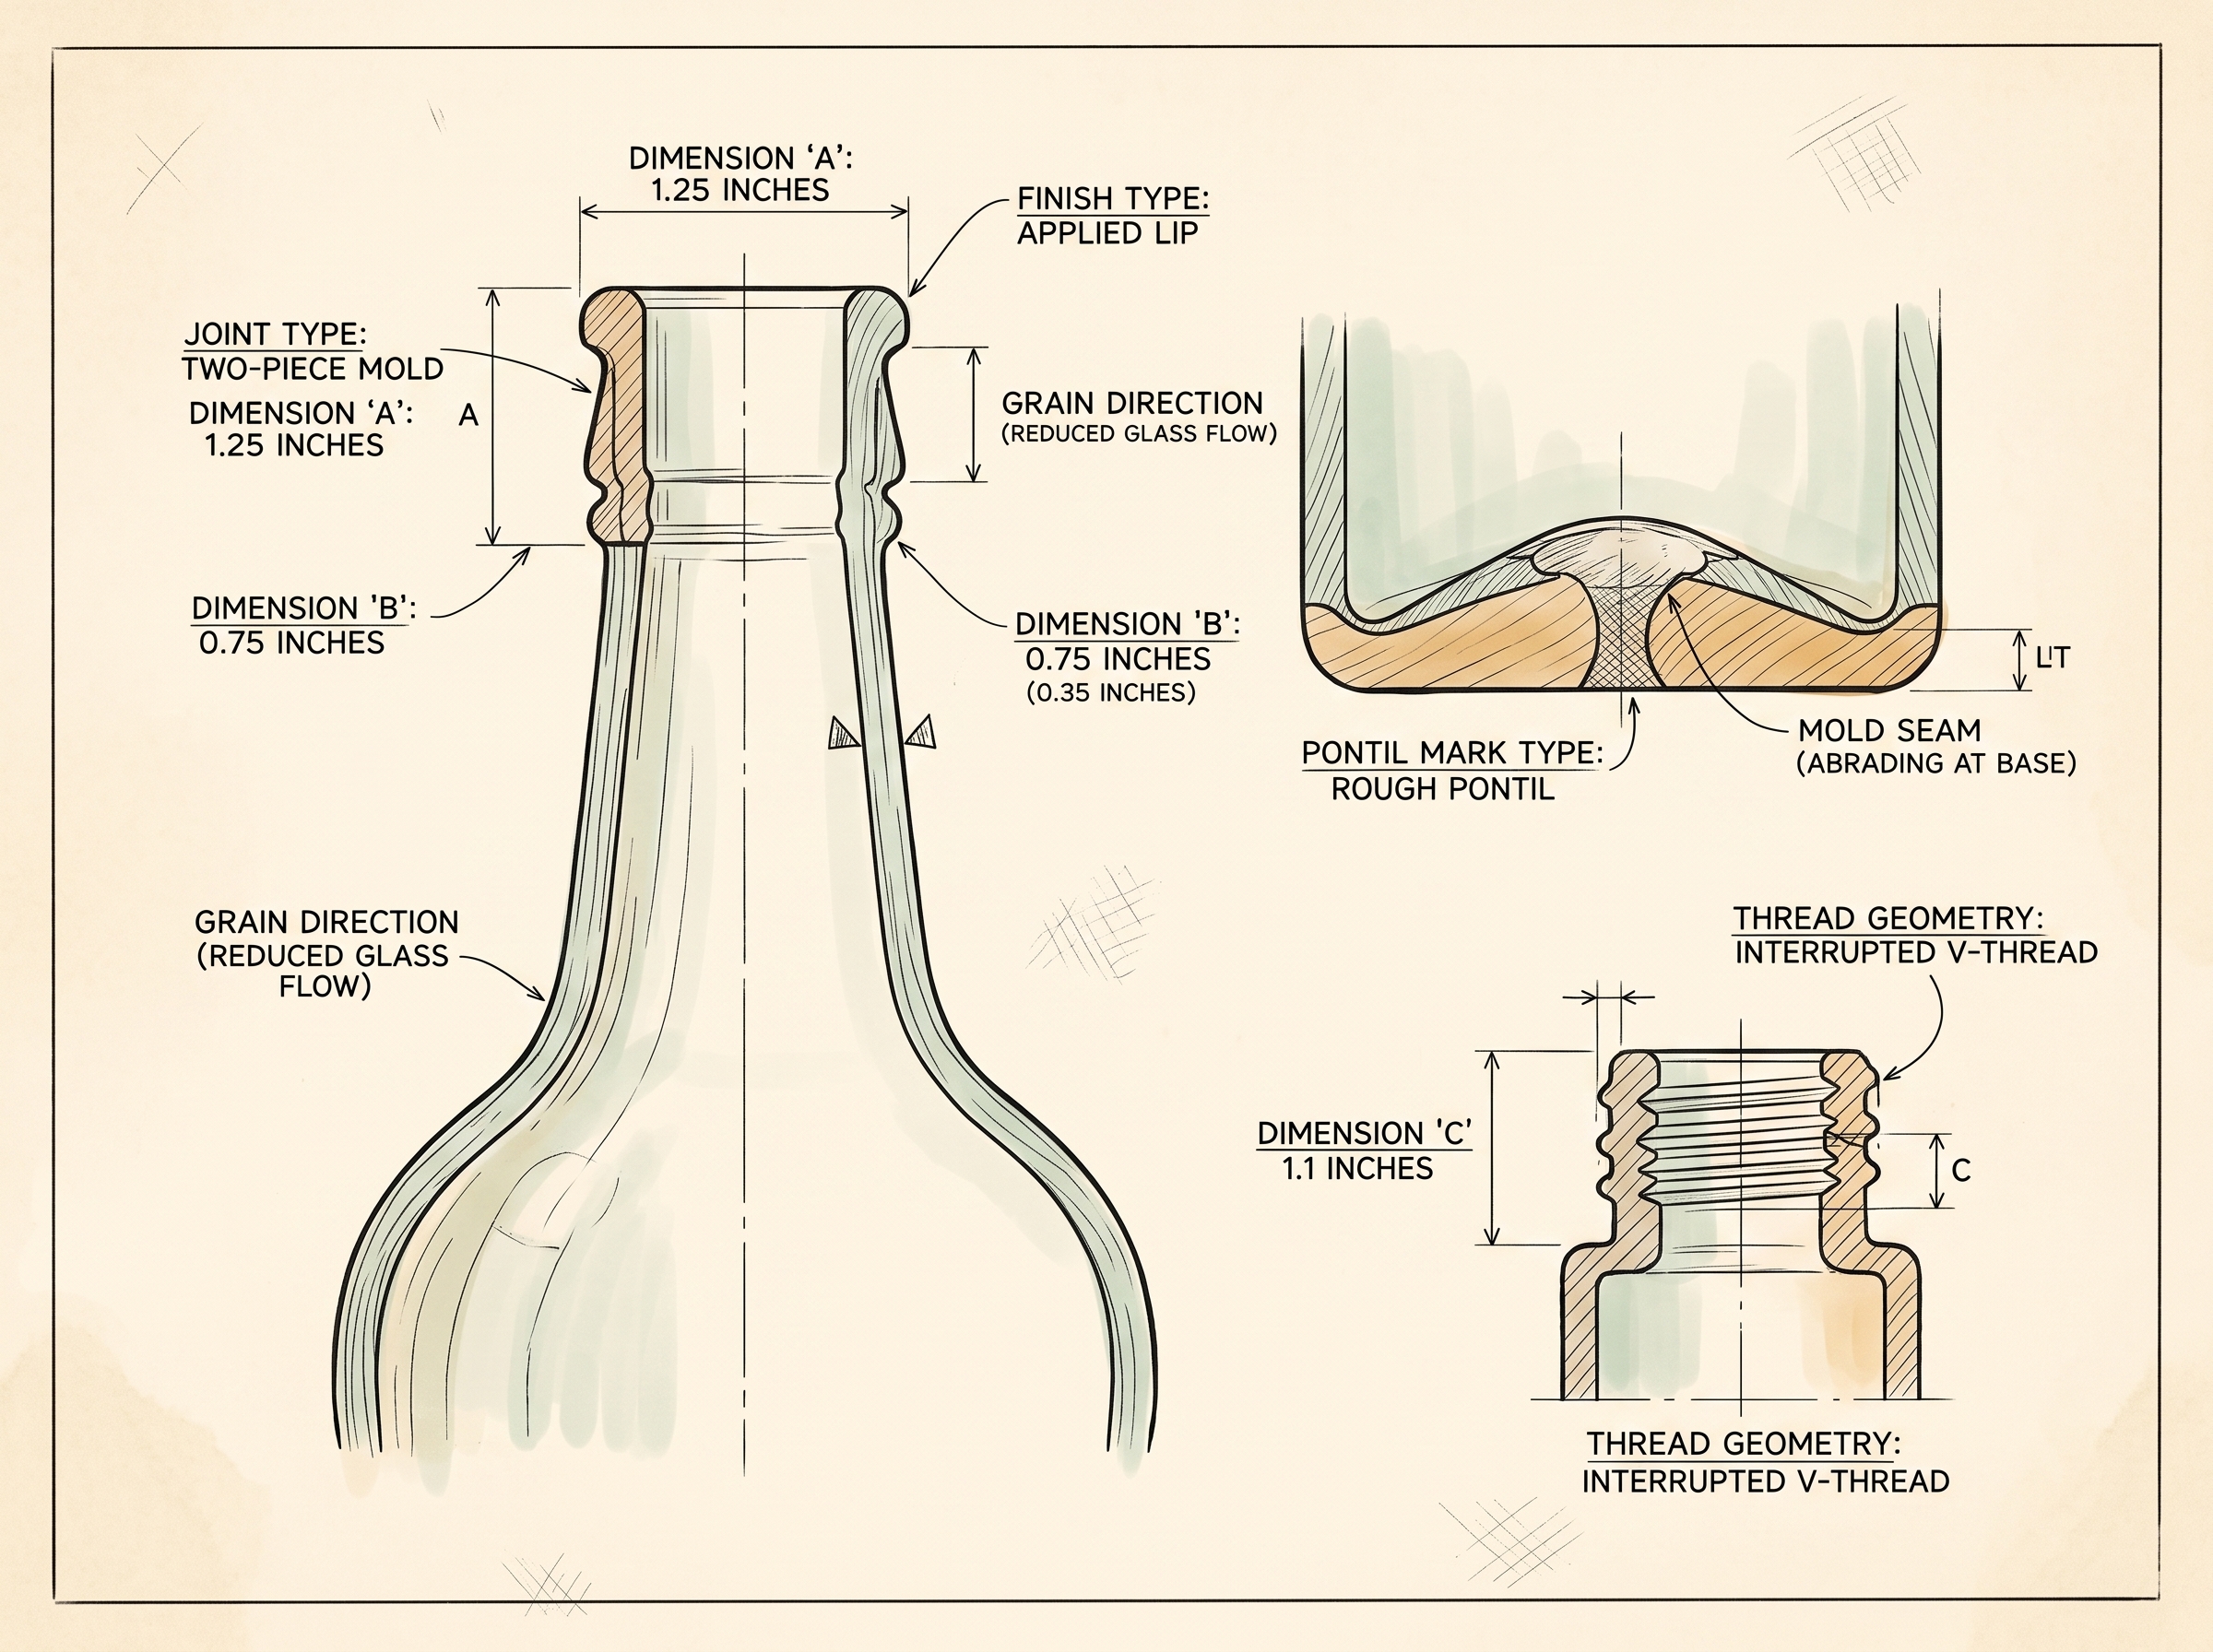
The base tells you whether a bottle was handblown or machine-made. Look for a pontil scar—a rough, raised mark where the blowing rod detached. Bottles made before the 1860s often show an open pontil (a jagged scar). Later handblown bottles might have a smooth pontil mark ground down for stability. After about 1900, you'll see embossed maker marks, mold numbers, or the telltale valve mark from an Owens automatic bottle machine—a circular scar with radiating lines.
No pontil and a smooth, uniform base? Likely machine-made, post-1910.
Seam Lines and Where They Stop
Seams are the single best dating tool. Handblown bottles made in dip molds (pre-1860) show seams only partway up the body. As mold technology improved, seams climbed higher. By the 1880s, three-piece molds created seams running up the shoulder. Machine-made bottles after 1910 have seams running all the way to the very top of the lip, through the finish.
If the seam stops below the lip, the neck was hand-finished. If it runs through the lip, you're looking at an automatic bottle machine product—almost always post-1910.
Lip and Finish Styles
The "finish" is what collectors call the top of the bottle—the lip, rim, and closure area. Hand-applied lips (pre-1880s to early 1900s) show tooling marks, slight asymmetry, and often a distinctive shape like a blob top, patent lip, or crown top.
Machine-made finishes are uniform and symmetrical. If you see perfect threading for a screw cap and seams running through it, that's a machine-made bottle, typically 1920s or later. Applied lips on earlier bottles often have a different color or slight irregularity where molten glass was added and shaped with tools.
Embossing and Glass Color
Embossed text identifies makers, products, and sometimes patent dates. Clear embossing helps date bottles when you can cross-reference company names and addresses with historical records. Pharmacies, soda bottlers, and breweries often embossed their names, city, and state—useful anchors for research.
Glass color also matters. Aqua and light green glass dominated until the 1880s because of iron impurities. Amber, cobalt, and clear glass became common later as manufacturing improved. Very dark, almost black glass often held alcohol or light-sensitive medicines.
What Photos to Take for Antique Bottle Identification
Good photos make identification faster and more accurate. You need to capture manufacturing details, not just the bottle's silhouette.
Base Photo
Flip the bottle and photograph straight down at the base. Use natural light or a bright overhead lamp. You want to show pontil scars, mold numbers, maker marks, and valve marks. If the base has embossed text or symbols, tilt the bottle slightly so shadows bring the lettering into relief.
Seam Close-Up
Photograph the side seam running up the body and shoulder. Get close enough to show exactly where the seam ends. If it stops at the shoulder or neck, capture that transition point. Then take a second photo of the lip itself to show whether the seam continues through the finish.
Lip and Finish Detail
A straight-on photo of the lip shows the closure style and whether the finish was hand-tooled or machine-made. Hold the camera level with the bottle's mouth. Natural side lighting helps reveal tooling marks and irregularities. If there's threading, make sure it's in focus.
Full Bottle and Embossing
Capture the whole bottle in good light to show overall shape, color, and proportions. Then take a dedicated photo of any embossed text, angling the bottle so the embossing casts shadows. Rotate the bottle and photograph all sides if embossing wraps around.
For more detailed guidance on capturing maker marks and embossed details, see How to Photograph Maker Marks: A Complete Guide to Clear Mark Photos.
Common Misidentifications in Bottle Collecting
Even experienced collectors sometimes misjudge a bottle's age or origin based on incomplete clues.
Confusing Reproductions with Originals
Modern reproductions fool a lot of people. Manufacturers replicate historic shapes and even add fake pontil scars or seams that stop mid-neck. The giveaway is usually glass quality—modern glass is often too clear, too uniform, or has bubbles placed too perfectly. Check the base for modern mold marks or a suspiciously smooth pontil.
If it looks too good to be true, photograph the base and seams carefully. Machine precision where hand variation should exist is a red flag.
Overestimating Age from Color Alone
Aqua or purple glass doesn't automatically mean "very old." Sun-purpled glass (clear glass turned amethyst by UV exposure) can date anywhere from the 1880s to 1920s, depending on manganese content. Aqua bottles were made well into the 1920s for certain products.
Always confirm age by checking seam height and lip construction, not just color.
Assuming All Embossing Is Valuable
Embossed bottles are common. Millions of soda, beer, and medicine bottles carried company names. Embossing helps with identification, but it doesn't guarantee value. Local bottlers from small towns can be desirable, but mass-produced national brands usually aren't unless they're early or rare variants.
Context matters—check if the embossing matches known companies, patent dates, or scarce regional distributors.
Misjudging Seam Placement
Faint mold seams are easy to miss in poor lighting. A bottle might look handblown until you tilt it under a strong light and spot a seam running higher than expected. Conversely, some hand-finished bottles have seams that almost reach the lip, leading people to misdate them as fully machine-made.
Always photograph seams in good light and trace them carefully from base to lip.
What Tocuro Can Help Resolve
Trying to cross-reference seam types, pontil styles, maker marks, and embossing across scattered reference books and forums takes hours. Tocuro identifies bottles from photos by analyzing the same clues you'd check manually—base marks, seam placement, lip style, embossing, and glass color—then matches those details against known examples and market data.
Upload photos of the base, seams, lip, and any embossed text. Tocuro walks through the manufacturing clues to estimate the bottle's age range, likely maker, and type. You'll also see estimated value ranges based on current market signals, not formal appraisals, so you know what similar bottles are selling for.
It's especially helpful when you're stuck between eras—like a bottle with a hand-finished lip but higher seams than expected, or embossing that's hard to research. Tocuro narrows down the possibilities so you spend less time guessing and more time deciding what to do with the bottle.
For a deeper look at using photo-based tools for bottle identification, see Antique Bottle Identification App: Identify Glass Bottles from Photos.
Ready to Identify Your Bottle?
Grab your phone, photograph the base, seams, lip, and any embossing, and let Tocuro do the detective work. You'll get an age estimate, maker details, and value range in minutes—no reference library required.
Identify Your Item and see what you're holding.
Photo identification
Identify Your Bottle
Use Tocuro to identify your item from a photo and get an estimated value range when market data is available.